
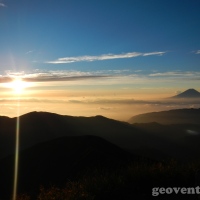
After climbing Mt. Fuji, we decided to complete the sanreizan (三霊山), Japan’s three holy mountains. So we next set our sights on Mount Hakusan (2702 m) in Ishikawa Prefecture. Its name in Japanese (白山) is translated as “white mountain”, due to its snowy peaks. However, we visited Hakusan in the summer so I would remember it as a mountain of color, a feast for the eyes with its lush greenery, varied flora and fauna, and magnificent landscapes.
Getting there
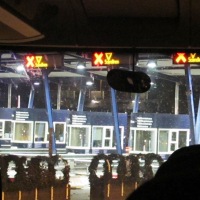
We decided to climb using the most popular route from Ishikawa prefecture. To get from Fukuoka to Kanazawa, we took the seishun 18 kippu, changing from one slow, local train to another for 19 crazy hours (but that’s for another story). We stayed the night in Kanazawa, took the first bus at 6:45 am, and arrived at the Bettodeai trailhead at 8:55 am (bus schedules here, use Google Chrome auto-translate for the English version).
Day 1: Trailhead to the campsite

Map of Mount Hakusan trails (source: http://www.japan-guide.com/e/e4285.html)
From there, we chose the Saboshindo trail to get to our target for that day: Minamiryugabanba campsite. We were not in a hurry since we had the whole day to reach the campsite, and another full day tomorrow to reach the summit. From the hanging bridge that marked the start of the hike, the trail is narrow but well-maintained that alternates from wooden planks to gravelly paths and even stone stairs.
 After 45 minutes, we reached an emergency shelter hut where we stopped to prepare our late breakfast/early lunch and refill our water flasks.
 We took our time with our meal, enjoying the cool temperature and good weather that Hakusan offered us. With our stomachs full, we continued on our hike with different types of flowering plants lining the trail. Everywhere I look, there were interesting plants or curious insects that kept me occupied and made me forget the length of the hike. The flora and fauna were one of the most varied among the mountains I have climbed.
 After 1.5 hours (around 1 pm), we stopped at the Jinnosuke shelter hut for a bathroom break and survey of the scenery. There we met a lot hikers also taking a breather, from young kids to groups of young hikers to old grandfathers and grandmothers. They all had a “konnichiwa” greeting for us as we passed.

At the Jinnosuke shelter hut
We continued on to the steeper (but still really rolling) portion of the hike, but when we got to the intersection going to Murodo (hut nearest the peak), we started descending again to reach the Minamiryugabanba campsite. The sky started to get really clear, so we were rewarded by beautiful views of the surrounding peaks covered by different shades of green. I took a lot of photos of the stunning landscape before continuing on.
 The last few portions of the trail were all elevated wooden planks until we arrived at the Nanryu sanso hut around 2 pm. We had to register there and pay 300 JPY per person to use the nearby Minamiryugabanba campsite.

Nanryu sanso hut
After the paperwork, it was another 20 minutes before we got to the campsite, where several tents were already set up. The campsite had small, open cabins with toilets and sinks.

Minamiryugabanba campsite

View from our tent

Inside the cabin building at the campsite
I felt really thankful that Japanese campsites always have a water source for drinking and washing, it really takes a whole lot of load off our shoulders, literally. We arrived at the campsite quite early, so we took our time preparing our early dinner. Even then, we were already inside the tent before sunset for lack of anything else to do. The smartphone became our best friend that night.
Day 2: Campsite to the peak and back
The next day, we started our day by getting up at 6:15 am to prepare breakfast. We left the campsite with all our stuff at around 7:30 am to take the 3.1 km Tonbiiwa course up to Murodo hut. The trail consisted of large boulders that eventually became gravelly paths. The vegetation changed to short pine shrubs and stunted trees and then to grassland.
 Along the way, there were still patches of snow from the previous winter that added character to the already amazing scenery. I was feeling really pleased with the beauty surrounding me.


We reached Murodo hut at 9:00 am and took a half-hour break to explore the surroundings and watch the helicopter deliver the hut’s supplies.
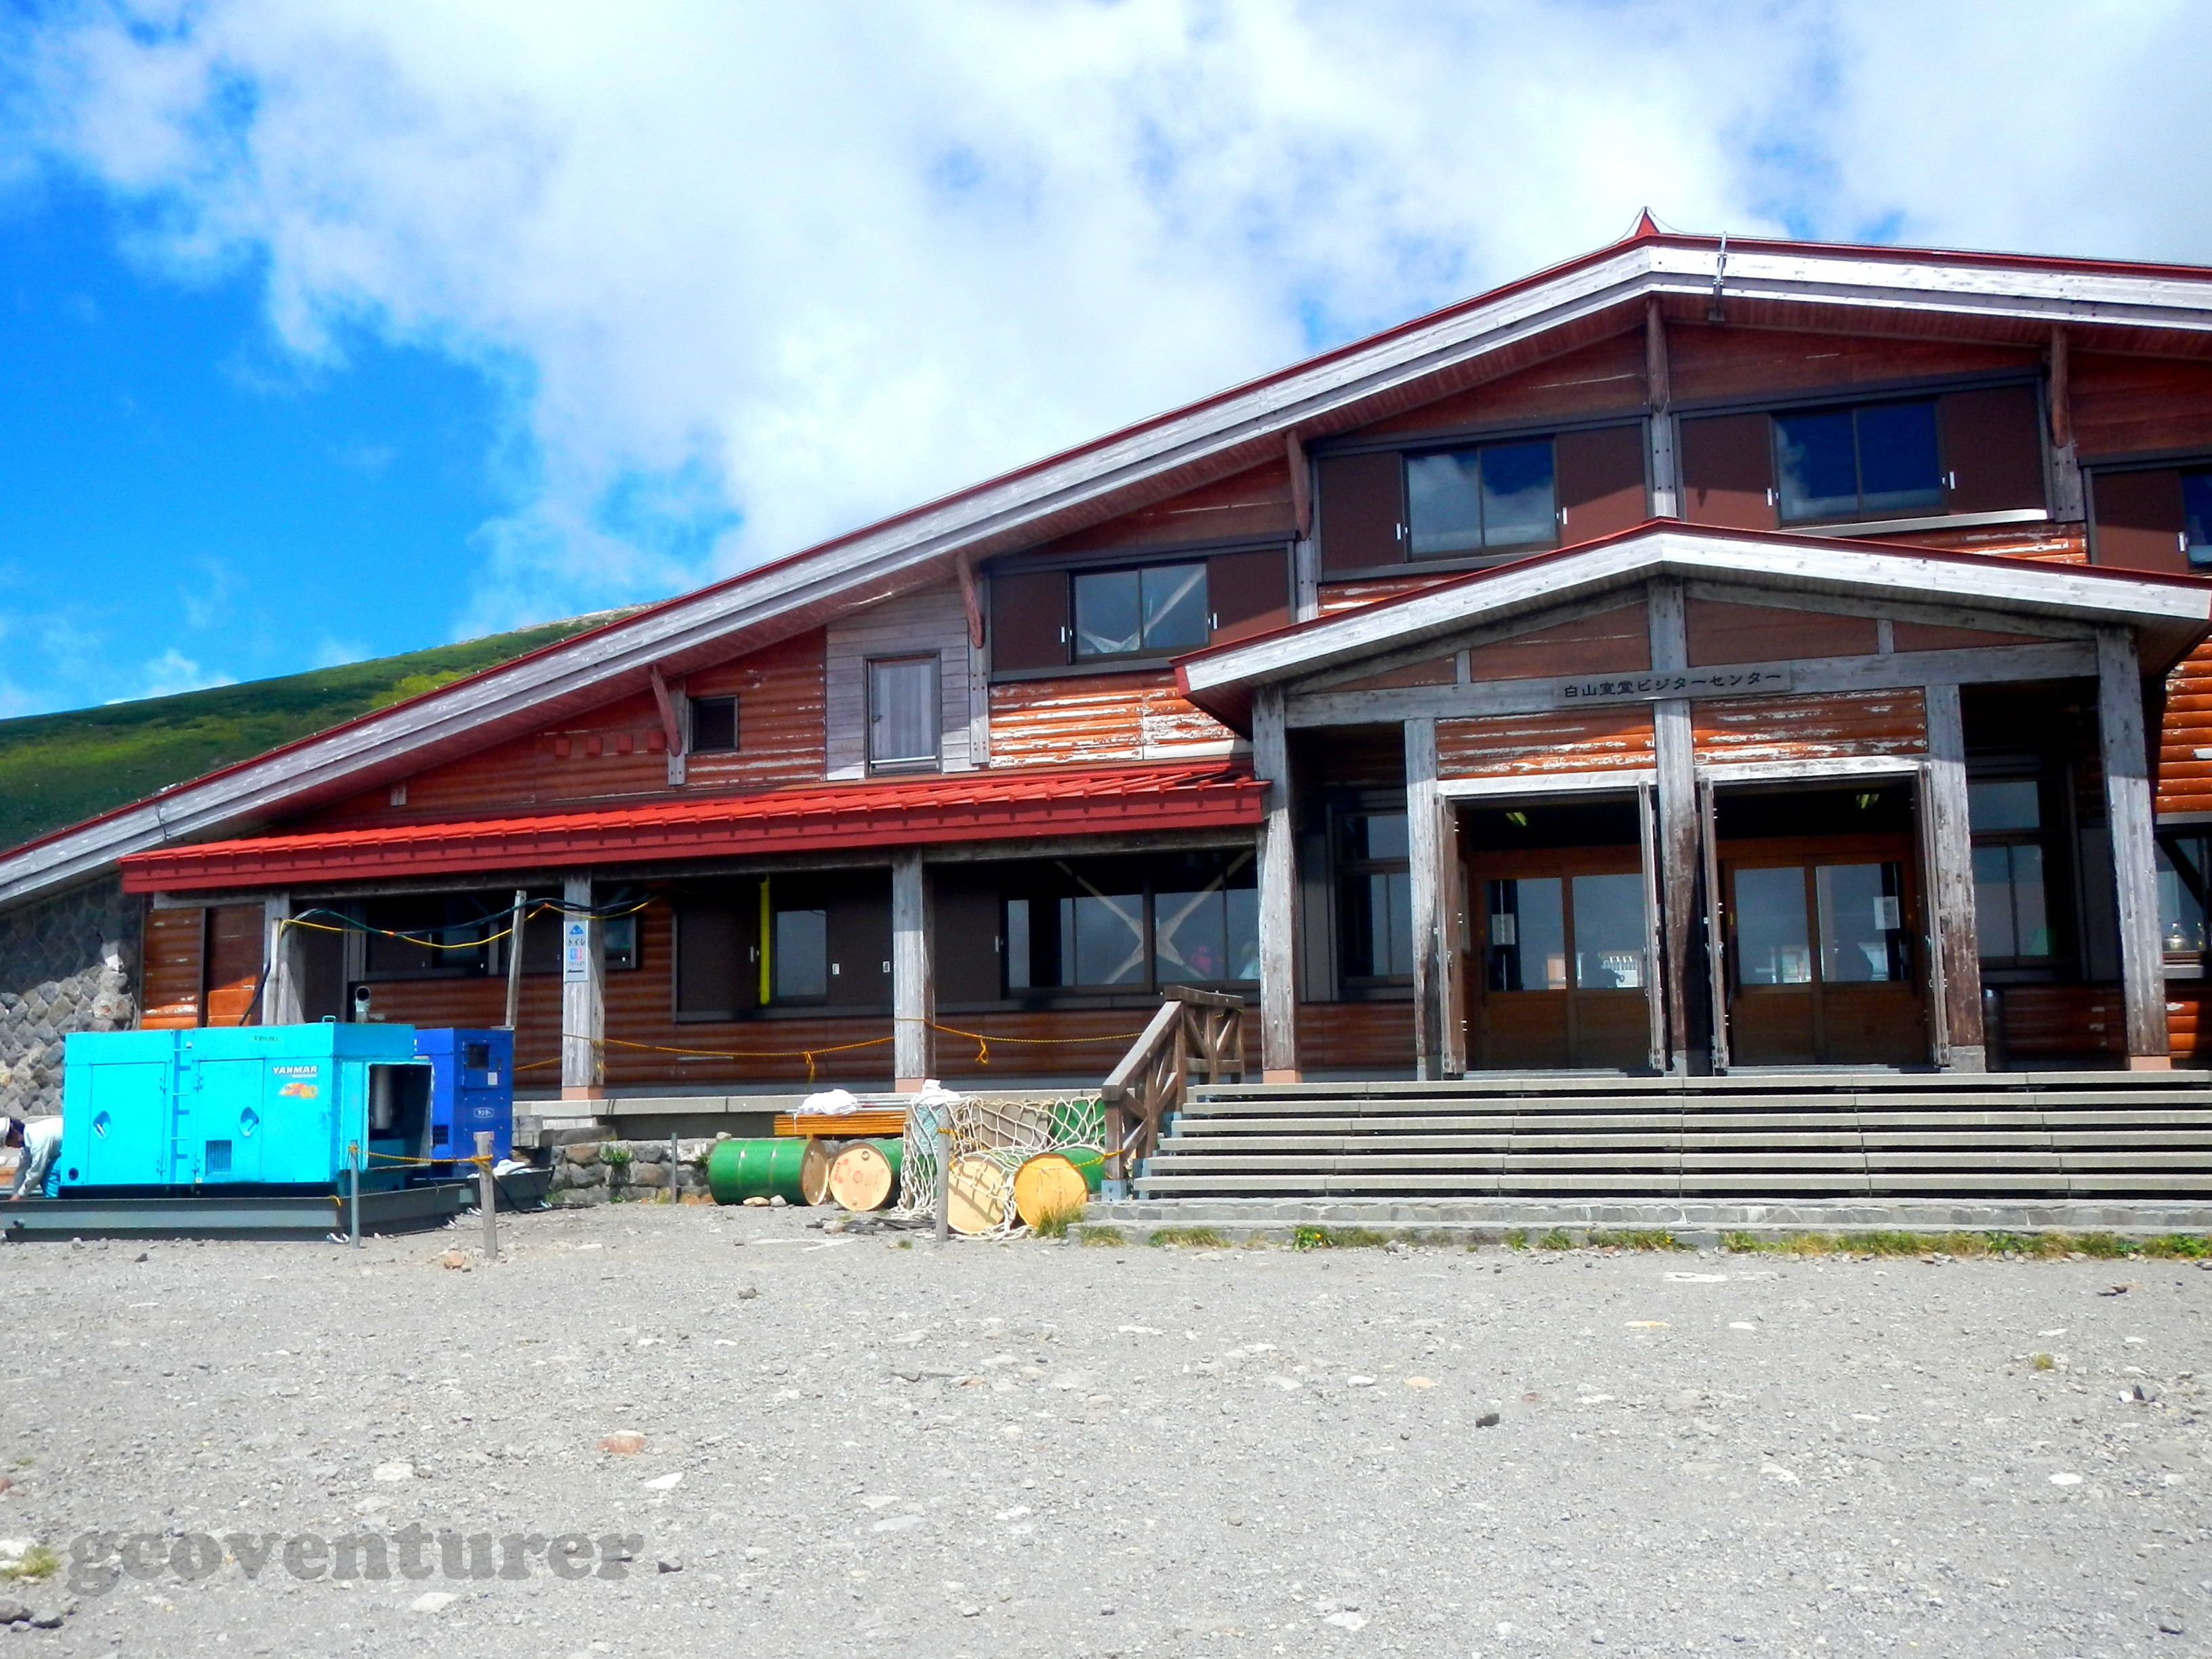
Murodo hut

delivery
At 9:30 am we said a quick prayer at the shrine for a safe trip to the summit (Hakusan was a holy mountain, after all).

The Murodo hut seen from above
After half an hour, we reached the smaller Shiramayahime shrine and from there it was a short 2-minute climb to the peak. It was a clear day so the view of the lakes below, paired with the vibrant blue of the sky, were just stunning.

Summit of Mt. Hakusan

View from the top
We were feeling great on the summit so we decided to take the longer Oike Meguri course. The course is a longer loop that leads back to Murodo hut, but not before passing by the seven lakes along the way. We checked out all the lakes depicted in the course, and they varied from large blue lakes with melting snow to small sulfuric ponds.

This way down

The lakes of the Oike Meguri course
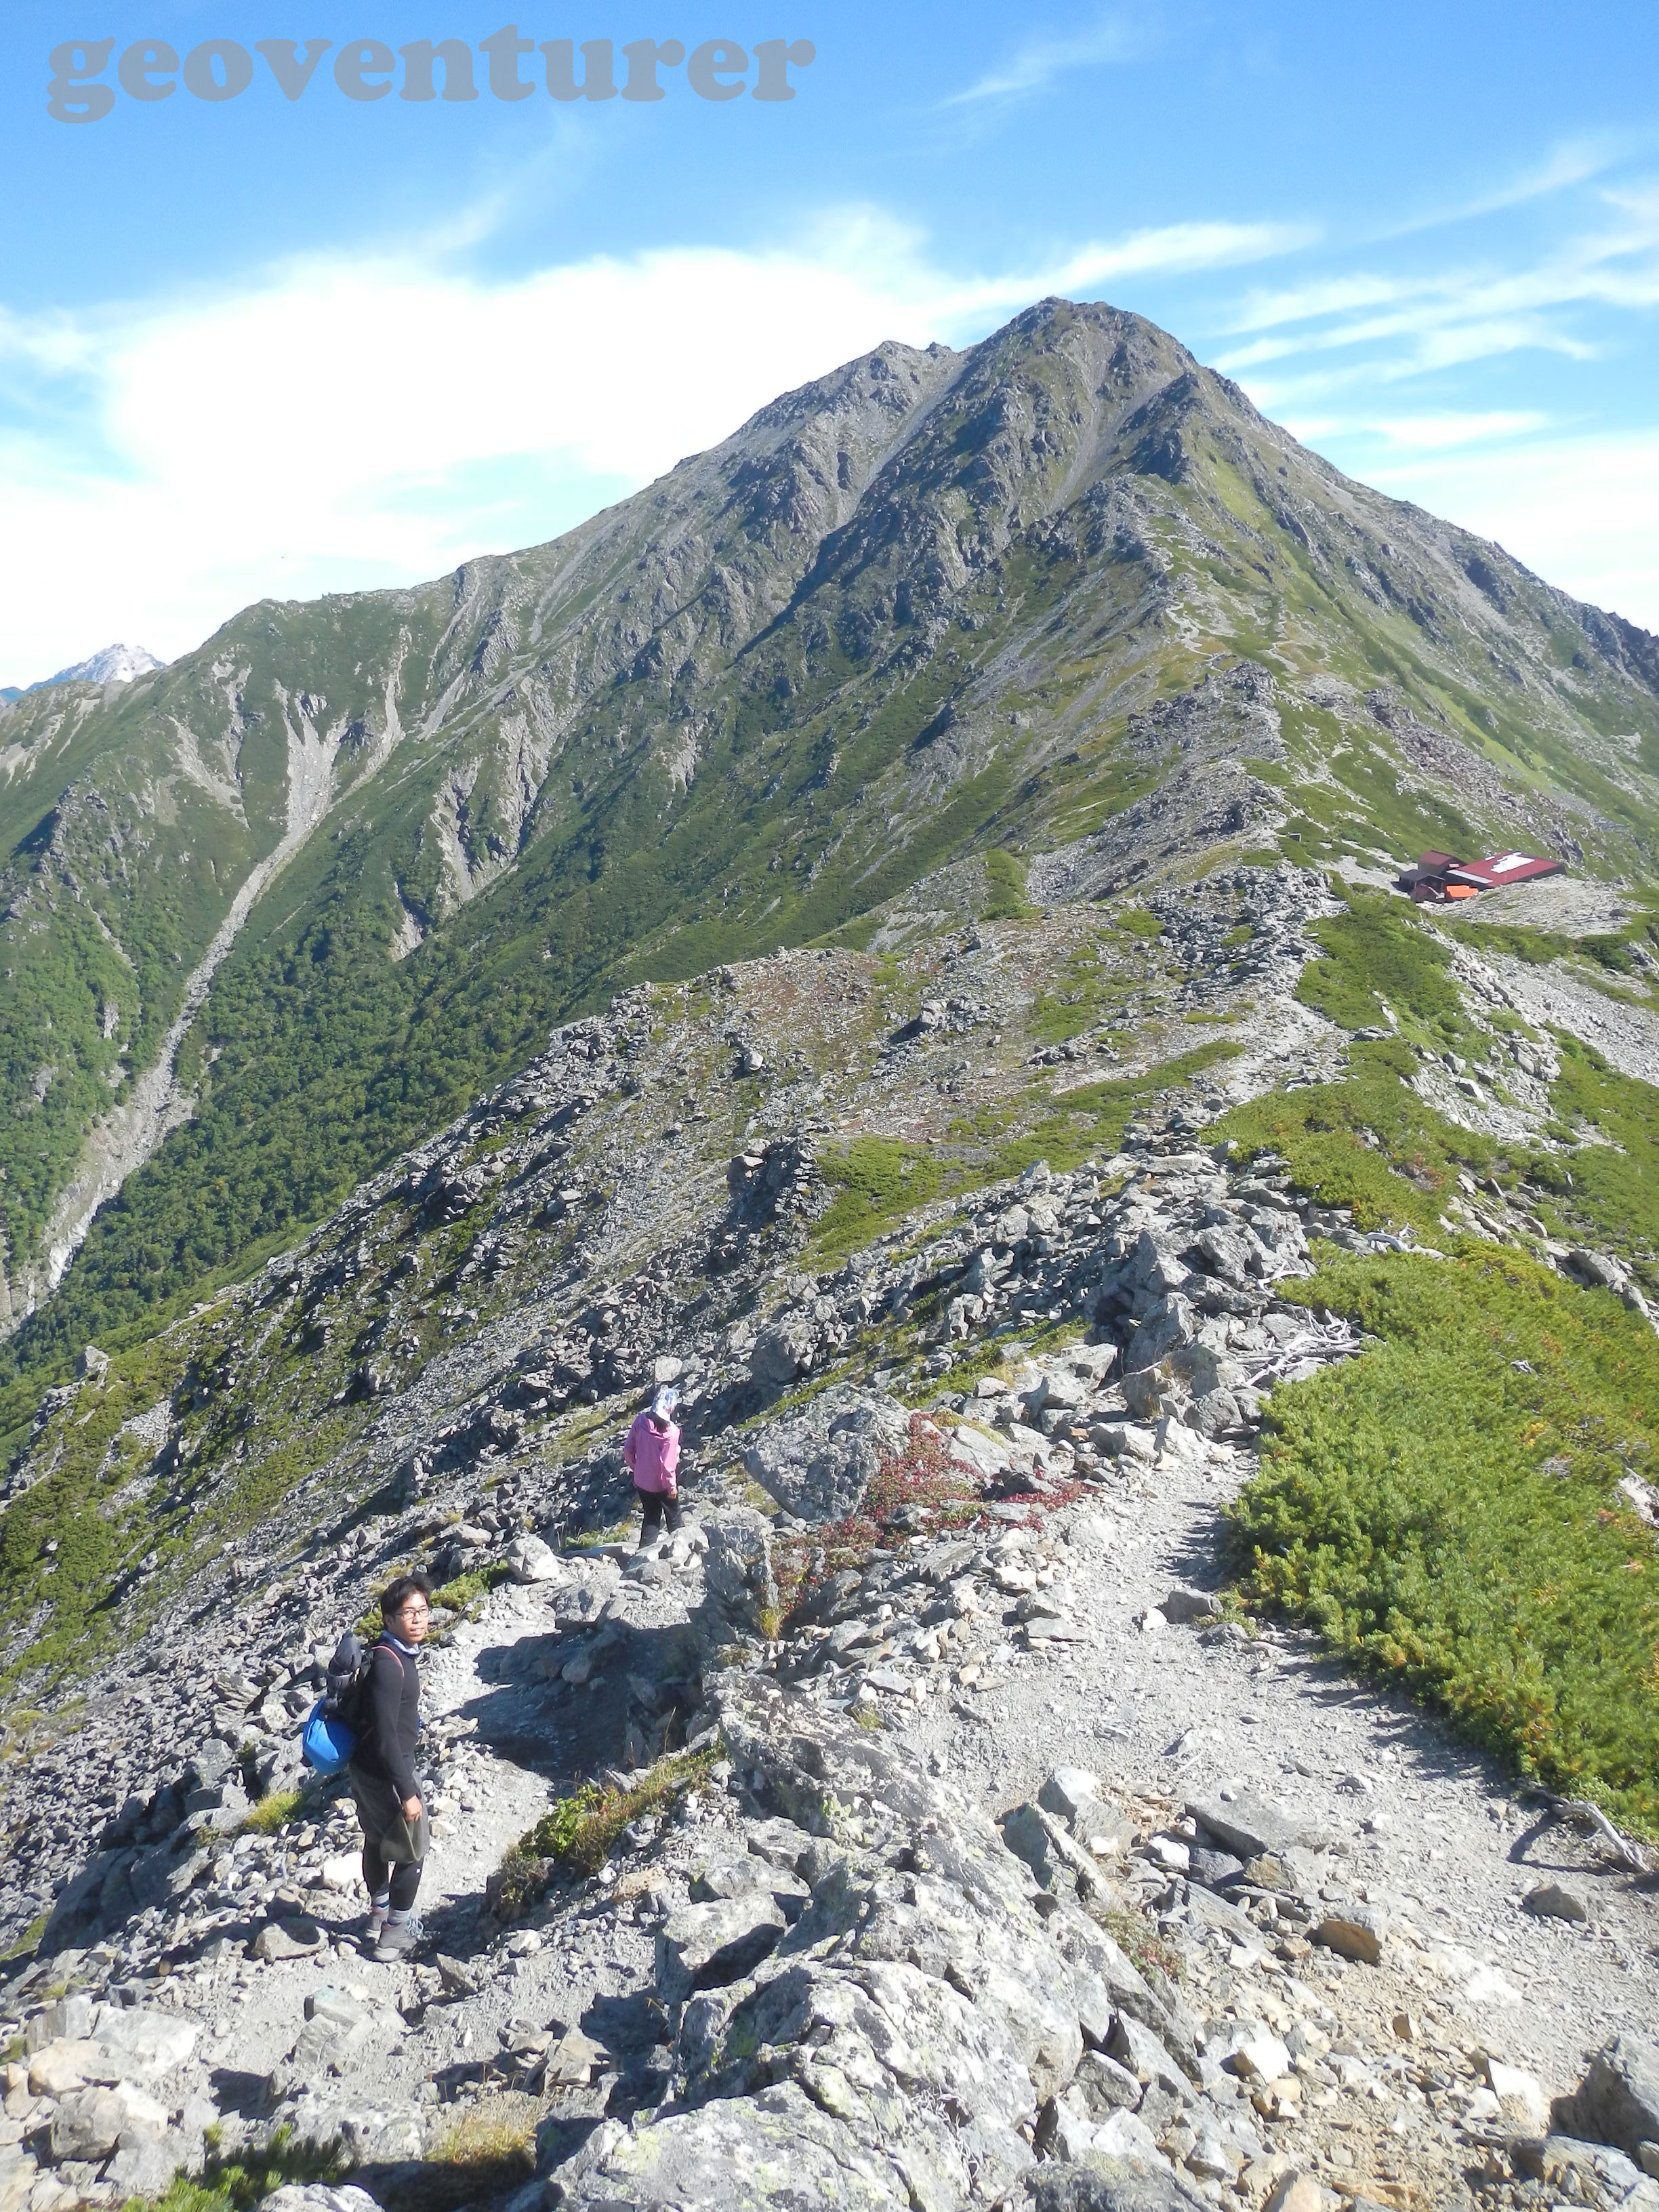
After 2 hours of leisurely walking, we arrived back at Murodo hut and had a quick lunch. By noon we were on our way down using the Kankoshindo trail for variety. We raced down, especially on the wooden walkways, since we felt so energized by the good weather and wonderful scenery.

We felt energized, but this hiker was feeling really tired.

Wonderful view going down
I was also busy taking photos of more flowers and insects along the trail, and at one point we met a snake, which added more excitement to the day.

Snake on the trail
We waited for a while to let him move out of the trail before we continued on. By 2:30 we were already back at the Bettodeai trailhead and ready for the 3:30 bus that would take us back to Kanazawa.

Bettodeai welcoming us back
Climbing Hakusan was one of the most laid-back and relaxed climbs I did. The good weather, well-maintained trails and beautiful scenery all contributed to the good vibes that the mountain imparted to us. I would always associate the “white mountain” with vivid colors: from the different greens of the grass and leaves, to the beautiful blue of the sky, the vibrant colors of the flowers and insects and the colorful scenery both from the peak and below.


